Home Office Makeover: How to Organize and Style Your Bookshelf Like a Pro

There is nothing like the feeling of having everything you need in your home office neatly organized and easily accessible. Bonus if it looks great, too! Achieving this level of #homeofficegoals is easier than you think. All it takes is some understanding of your habits and your space, the right organizing supplies, a few hours, and a dedication to keeping up the system.
Last year I went through the process of organizing and styling my own home office bookshelf. Here is a breakdown of how I went from piles of clutter to a lovely, functional space:
1. Analyze Space and Habits
I prefer closed storage systems (aka not seeing my stuff) but the closet in the room that I use as my office was already filled with back stock, holiday decor, memorabilia, and other household necessities. A free-standing bookshelf organized with labeled containers and tucked into a corner was my only option.
2. Sort and Declutter
I gathered all of my books, supplies, and files and placed like with like. I then removed any supply or piece of paper that did not help me do my job. Outdated files were placed in the recycle bin, while unnecessary supplies were set aside to donate and non-work-related items (tools, gift wrap, old CDs) were moved to other parts of the house.
3. Top Shelf
A dear friend (and my first organizing client) coined the term “office art” to describe all of the decorative items that accumulate on our desks that give our offices character. In my opinion they are an absolute necessity. This top shelf displays things that inspire me as I go about my work day, including books full of amazing ideas, a cherished photo of my son, and a playful portrait of one of my favorite artists, Andy Warhol. Note: when stacking books and arranging objects, 3 is an optimal number. This shelf works because there is a lot of white space for each object to breathe.

4. Books
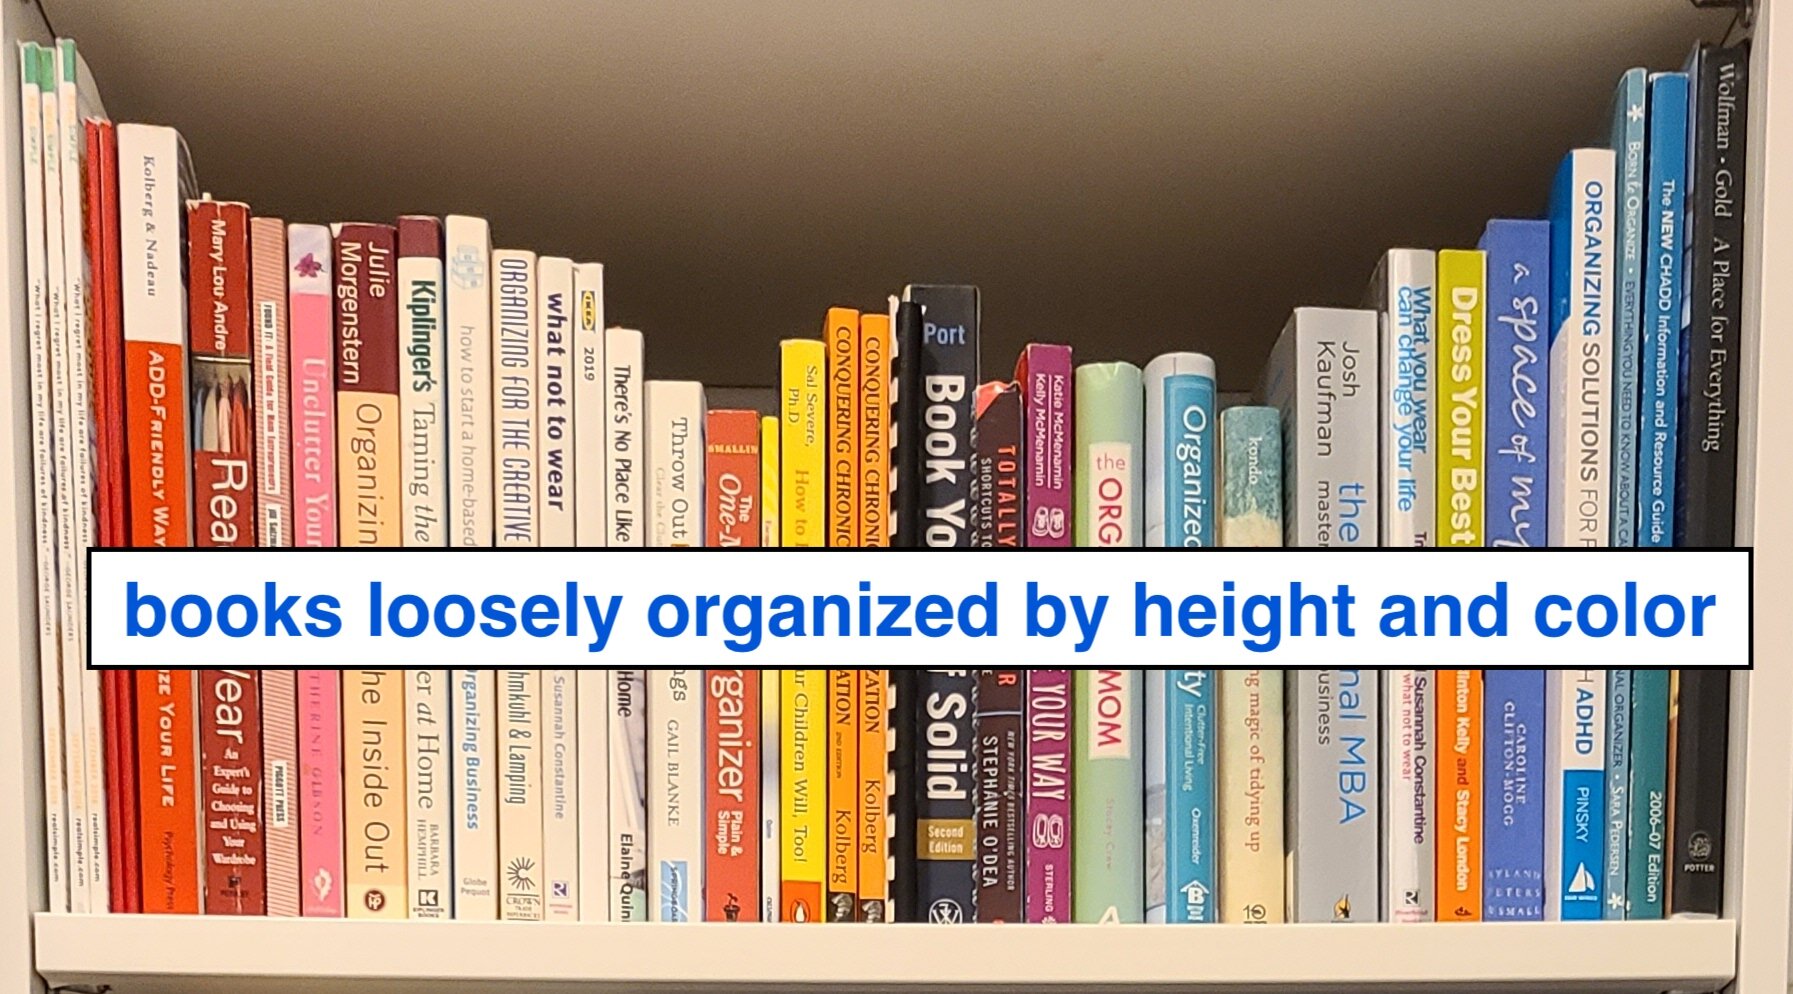
A lot of attention has been paid to organizing books by color, but organizing by height makes a huge difference as well. If the book collection was larger I would focus on organizing by topic or author, so that each book is easier to find. Since they are all organizing books I was free to focus on the aesthetics.
5. Files and Supplies
Labeled containers are the secret to keeping open storage neat and organized. I put files I need to reference regularly in hanging file containers. (Paperwork that needs to be kept long-term is in a larger Archive bin in the closet. No need to take up prime real estate with things I never need to use.) For a while, these file containers were sitting on my desk, but I moved them to the shelf so I had more space to spread out while I was working. A vertical paper sorter, to the left of the file containers, saves space and keeps empty file folders, envelopes, and other paper supplies tidy. I used document boxes to corral papers that I need for specific, ongoing projects. Smaller storage boxes contain miscellaneous supplies. I like color, so I chose a fun pattern, but storage boxes like these come in a range of colors and materials. Inside, these boxes are a bit of a hot mess, but they look super cute on the outside, proving the adage - everything looks better in a container!
More office art, a classic “less is more” chair by Charles and Ray Eames, completes the picture.


6. Drawers
I put in the drawers supplies that I don’t want to look at, like wires and packing materials. The insides of these drawers aren’t perfect, but that is okay. I can find what I need when I need it.
7. Maintenance
As I said, it has been about a year since I organized this bookshelf. I’ve been able to keep it looking good by setting aside time at the end of my work day to put things back. Since the bookshelf is organized, it only takes a few minutes to tidy it up and get ready for the next workday.
Want more insightful home organizing articles sent directly to your inbox ? Subscribe to our blog.